Creating New Raster Layers with GDALTools
The GDALTools plugin offers a GUI to the collection of tools in the Geospatial Data Abstraction Library, http://gdal.osgeo.org . These are raster management tools to query, re-project, warp and merge a wide variety of raster formats.
In this section, we will use several tools in the GDALTools plugin to resample, create new layers and convert rasters to another format.
Resampling raster layers
The elevation layer we are using has a pixres of ~90 meters (0.000848 in decimal degrees) . We will convert the data to 1 km or (0.00833333 decimal degrees) similar to the other raster layers we will use for the species distribution modelling exercise.
Note
Resampling is a technique for transforming raster image from one particular scale and projection to another.
1. In the Menu, select Raster ‣ Projections ‣
 Warp (Reproject).
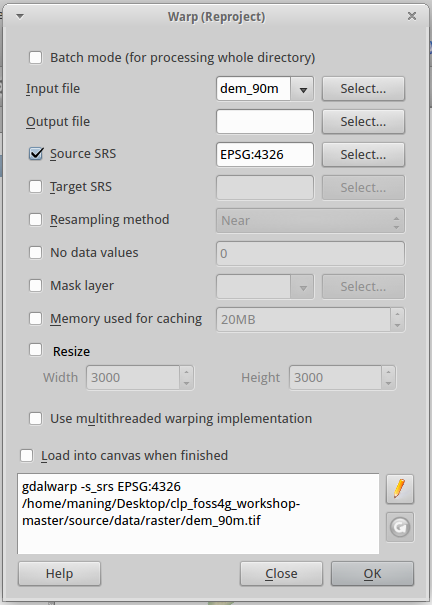
2. In the Warp (Reproject) window add the following parameters:
Input file - dem_90m.tif
Output file - dem_1km.tif
Target SRS - EPSG:4326
Resampling method - Cubic
No data values - -9999
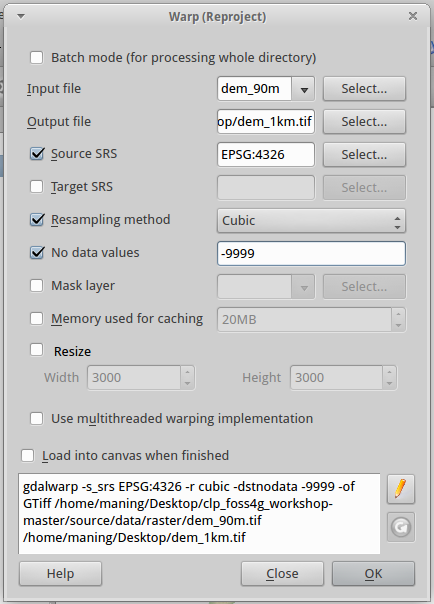
3. The default Warp GUI does not include the pixel resolution
resampling option. In order to add the pixel resolution settings we will
edit the syntax shown at the bottom of the window. Click the
 Edit button.
4. Add the text -tr 0.00833333 0.00833333 right after the GTiff command.

The full syntax is shown below (the path to the directories may vary depending on where you saved your data directory):
gdalwarp -s_srs EPSG:4326 -t_srs EPSG:4326 -r cubic -dstnodata -999
-of GTiff -tr 0.00833333 0.00833333
~/data/raster/dem_90m.tif
~/data/raster/dem_1km.tif
5. Put a check-mark in the Load into canvas when finished. Click OK ‣ Close.
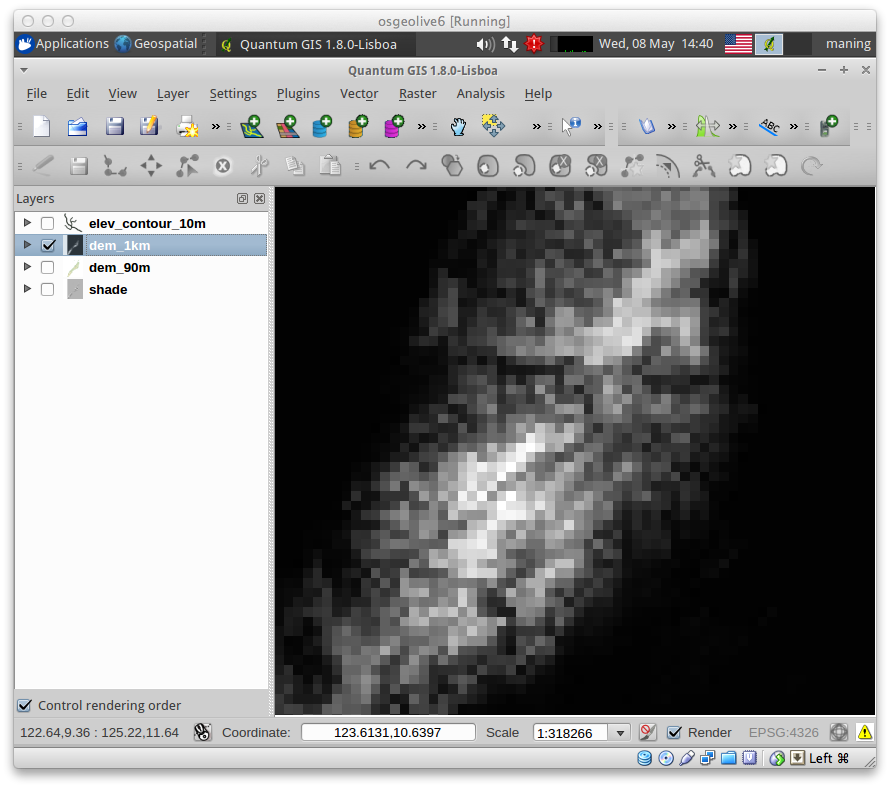
6. Perform contrast enhancement similar to the previous section.
Creating a slope layer
With the GDALTools plugin, we will create a new slope layer using our resampled DEM.
1. To create a new slope layer, select
Raster ‣ Analysis ‣
 DEM (Terrain Models).
A new window will appear for the DEM (Terrain Models) options.
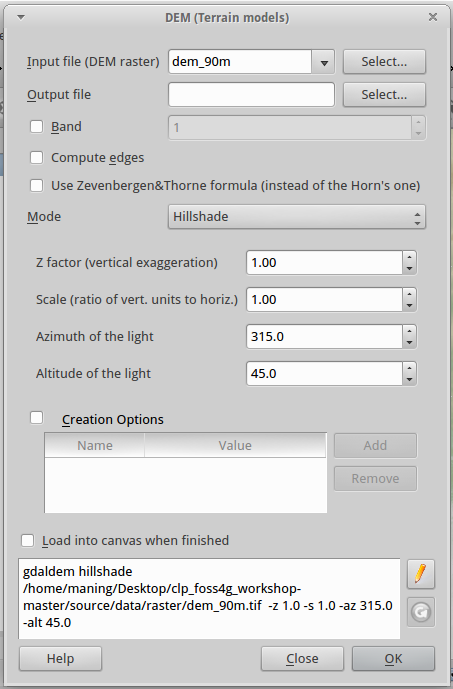
2. In the Input file, select dem_1km.tif in the drop-down box.
3. In the Output file, click Select and create a new layer as slope.tif.
4. In the Mode, select the Slope from the drop-down list.
5. Since we are using geographic coordinate system, we use a scale value of 111120. Type this value in the Scale field. We leave the other values to the default settings.
6. Put a check-mark in the Load into canvas when finished.
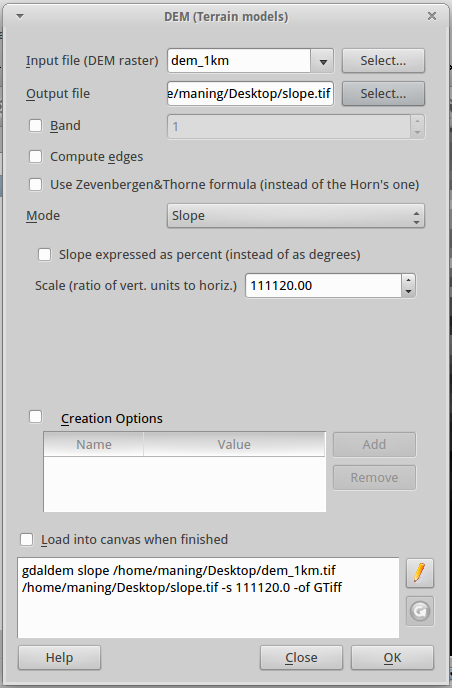
7. Finally, click the OK to begin the process.
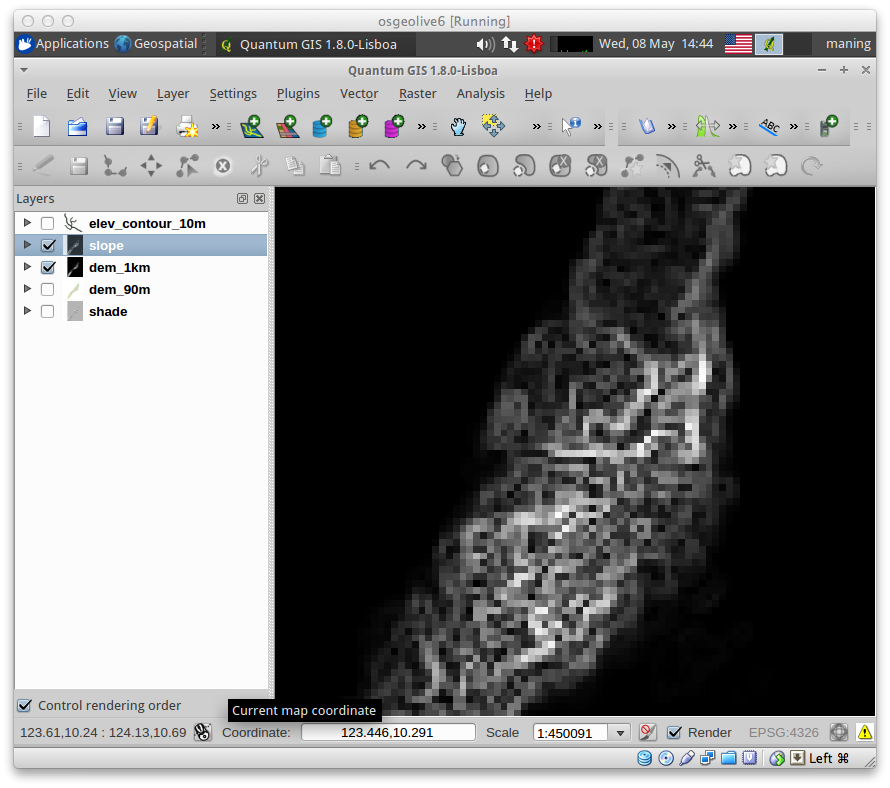
8. Perform contrast enhancement similar to the previous section.
9. Save your QGIS project.
Note
Slope is used to describe the measurement of the steepness, incline, gradient, or grade of a straight line. A higher slope value indicates a steeper incline. The slope is defined as the ratio of the “rise” divided by the “run” between two points on a line, or in other words, the ratio of the altitude change to the horizontal distance between any two points on the line. It is also always the same thing as how many rises in one run.
Convert the GeoTiff raster to ESRI ASCII Grid
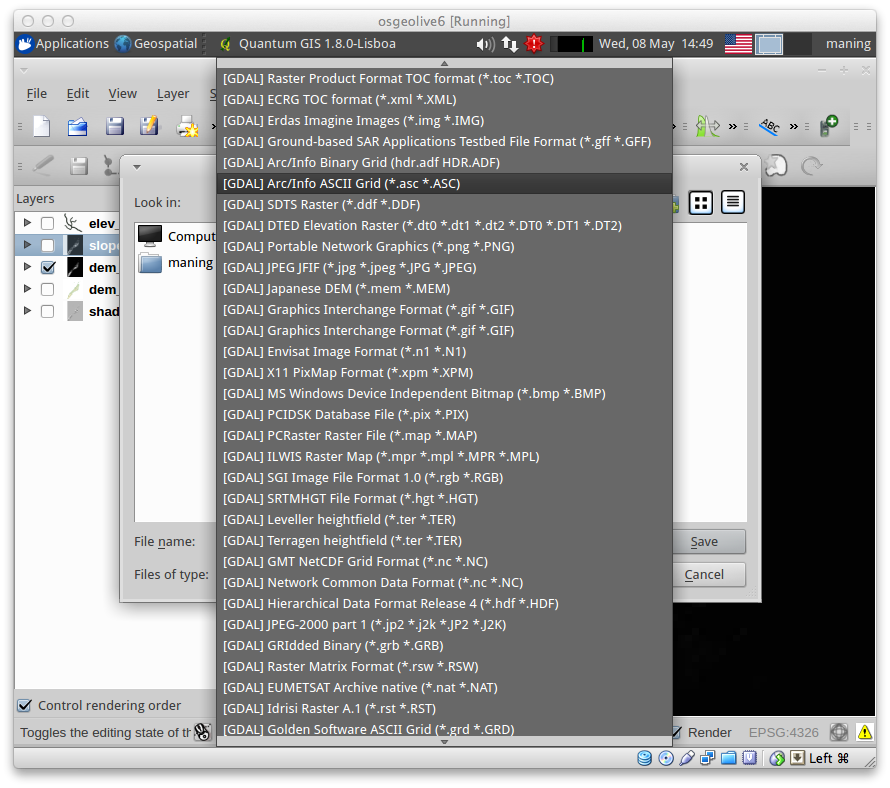
1. To convert the resampled elevation data to ESRI ASCII raster, in the Menu,
select Raster ‣ Conversion ‣
 Translate (Convert format).

2. In the Translate (Convert format) window, select dem_1km.tif as the Input Layer.
3. In the Output file, use the File name dem_1km.asc and select Arc/Info ASCII Grid (*.asc *.ASC) as the Files of type.
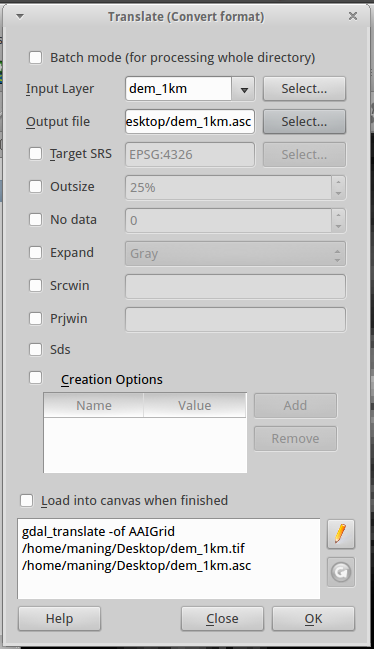
3. Again, we will edit the syntax shown at the bottom of the window. Click
the Edit button. Add the -ot Int32 right after the
AAIGrid command.
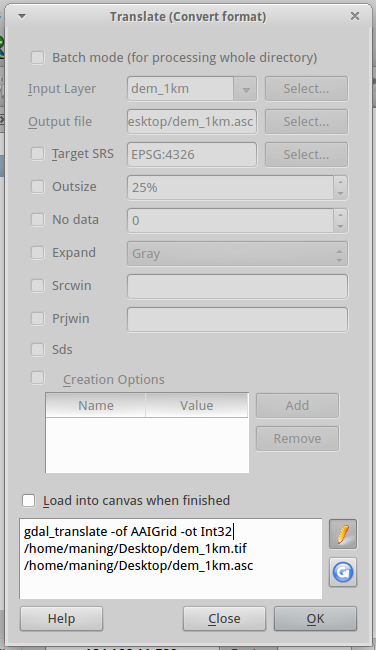
The full syntax is shown below (the path to the directories may vary depending on where you saved your data directory):
gdal_translate -of AAIGrid -ot Int32
~/data/raster/dem_1km.tif
~/data/raster/dem_1km.asc
Warning
Make sure that the output layer (i. e. dem_1km.asc) is in the same directory as the other raster .asc files.
4. Repeat the above steps to convert the slope.tif to slope.asc
5. Save your QGIS project.